
Using Merkle Trees for Token Gating in Blockchain DApps
How to implement merkle tree token gating for access control with a Solidity smart contract, Golang, and JavaScript
Introduction
Understanding Merkle Trees
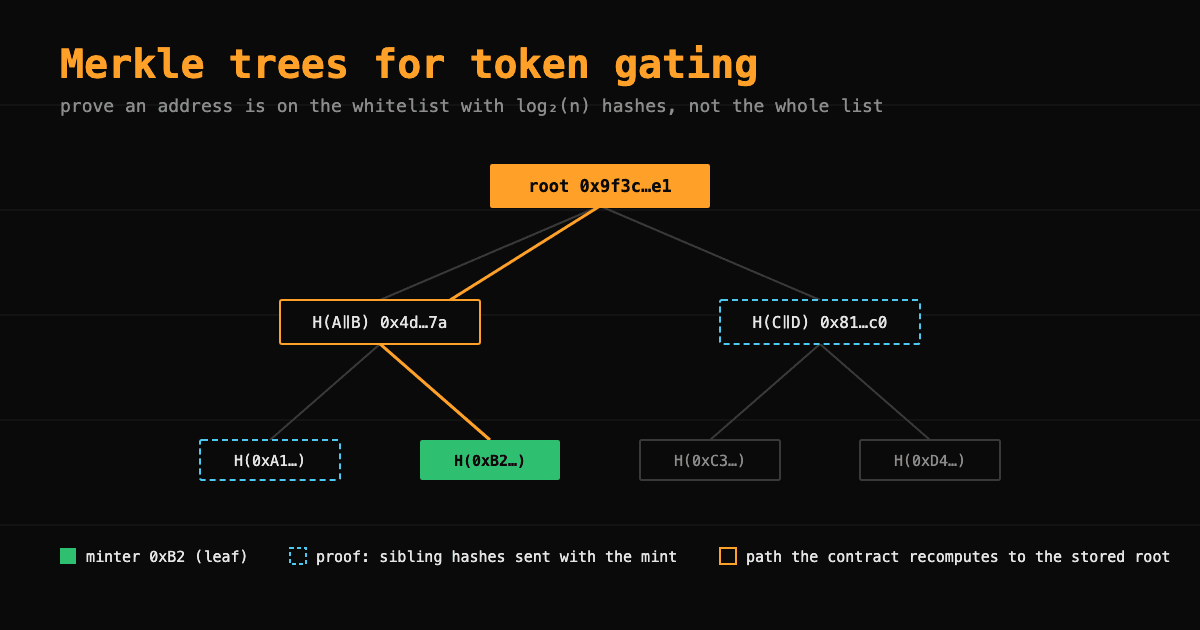
Merkle Trees, a concept named after Ralph Merkle who proposed it in 1979, stand as a cornerstone in cryptographic algorithms, especially within blockchain technology. At their core, Merkle Trees are data structures that enable efficient and secure verification of content in large data sets. They do this through a tree-like structure where each leaf node is a hash of data block contents, and each non-leaf node is a hash of its child nodes.
The Essence of Merkle Trees
To truly grasp the essence of Merkle Trees, imagine you're in a vast library, filled to the brim with books. Your task is to verify that a single page from a specific book hasn't been altered. In a world without Merkle Trees, you'd painstakingly compare every page of every book against a master list—a daunting and time-consuming task. Enter Merkle Trees: rather than verifying each page, you'd only need to check a small set of hashes up the tree. This drastically reduces the effort, from comparing every page in the library to simply tracing a path of hashes up a tree.
Merkle Trees are binary, meaning each parent node links to at most two child nodes, leading to a structure that significantly minimizes the number of comparisons needed to verify data integrity. This binary nature is pivotal, allowing Merkle Trees to efficiently confirm the presence (or absence) of data in large data sets with just a handful of hash comparisons.
Application in Blockchain Technology
In blockchain, Merkle Trees find their most prominent application. Here, they serve a dual purpose: ensuring data integrity and enabling efficient data verification. Each block in a blockchain contains a multitude of transactions, which could be likened to pages in our library analogy. The Merkle Root, a single hash at the top of the tree, acts as a unique fingerprint for all the transactions within a block. This root is what gets stored in the blockchain ledger, providing a compact, yet comprehensive, verification mechanism.
This design means that to verify the existence and integrity of a single transaction within a block, you don't need to download every transaction in that block. Instead, you only require the minimal path of hashes leading to the Merkle Root—a feature that significantly enhances efficiency and privacy in blockchain networks.
Token Gating with Merkle Trees in Web3 dApps
In Web2, we use Role-Based Access Control (RBAC) systems in software to provide content or data to different categories of users. In Web3, we use Token gating as the mechanism for access control.
Token gating essentially means restricting access to certain resources or services within a dApp (decentralized application) based on the ownership of specific tokens or fulfilling certain criteria. Here, Merkle Trees shine brightly, offering an elegant solution to implement token gating efficiently and securely.
Token Gating: The Gateway to Exclusive Content
Imagine a digital art gallery in the metaverse, where only holders of a particular NFT (Non-Fungible Token) can enter and view exclusive artwork. Or think of a decentralized finance (DeFi) platform offering premium investment strategies to holders of its governance token. These scenarios exemplify token gating, where access is not just about holding a token—it's a key to a world of exclusivity and privilege in the digital realm.
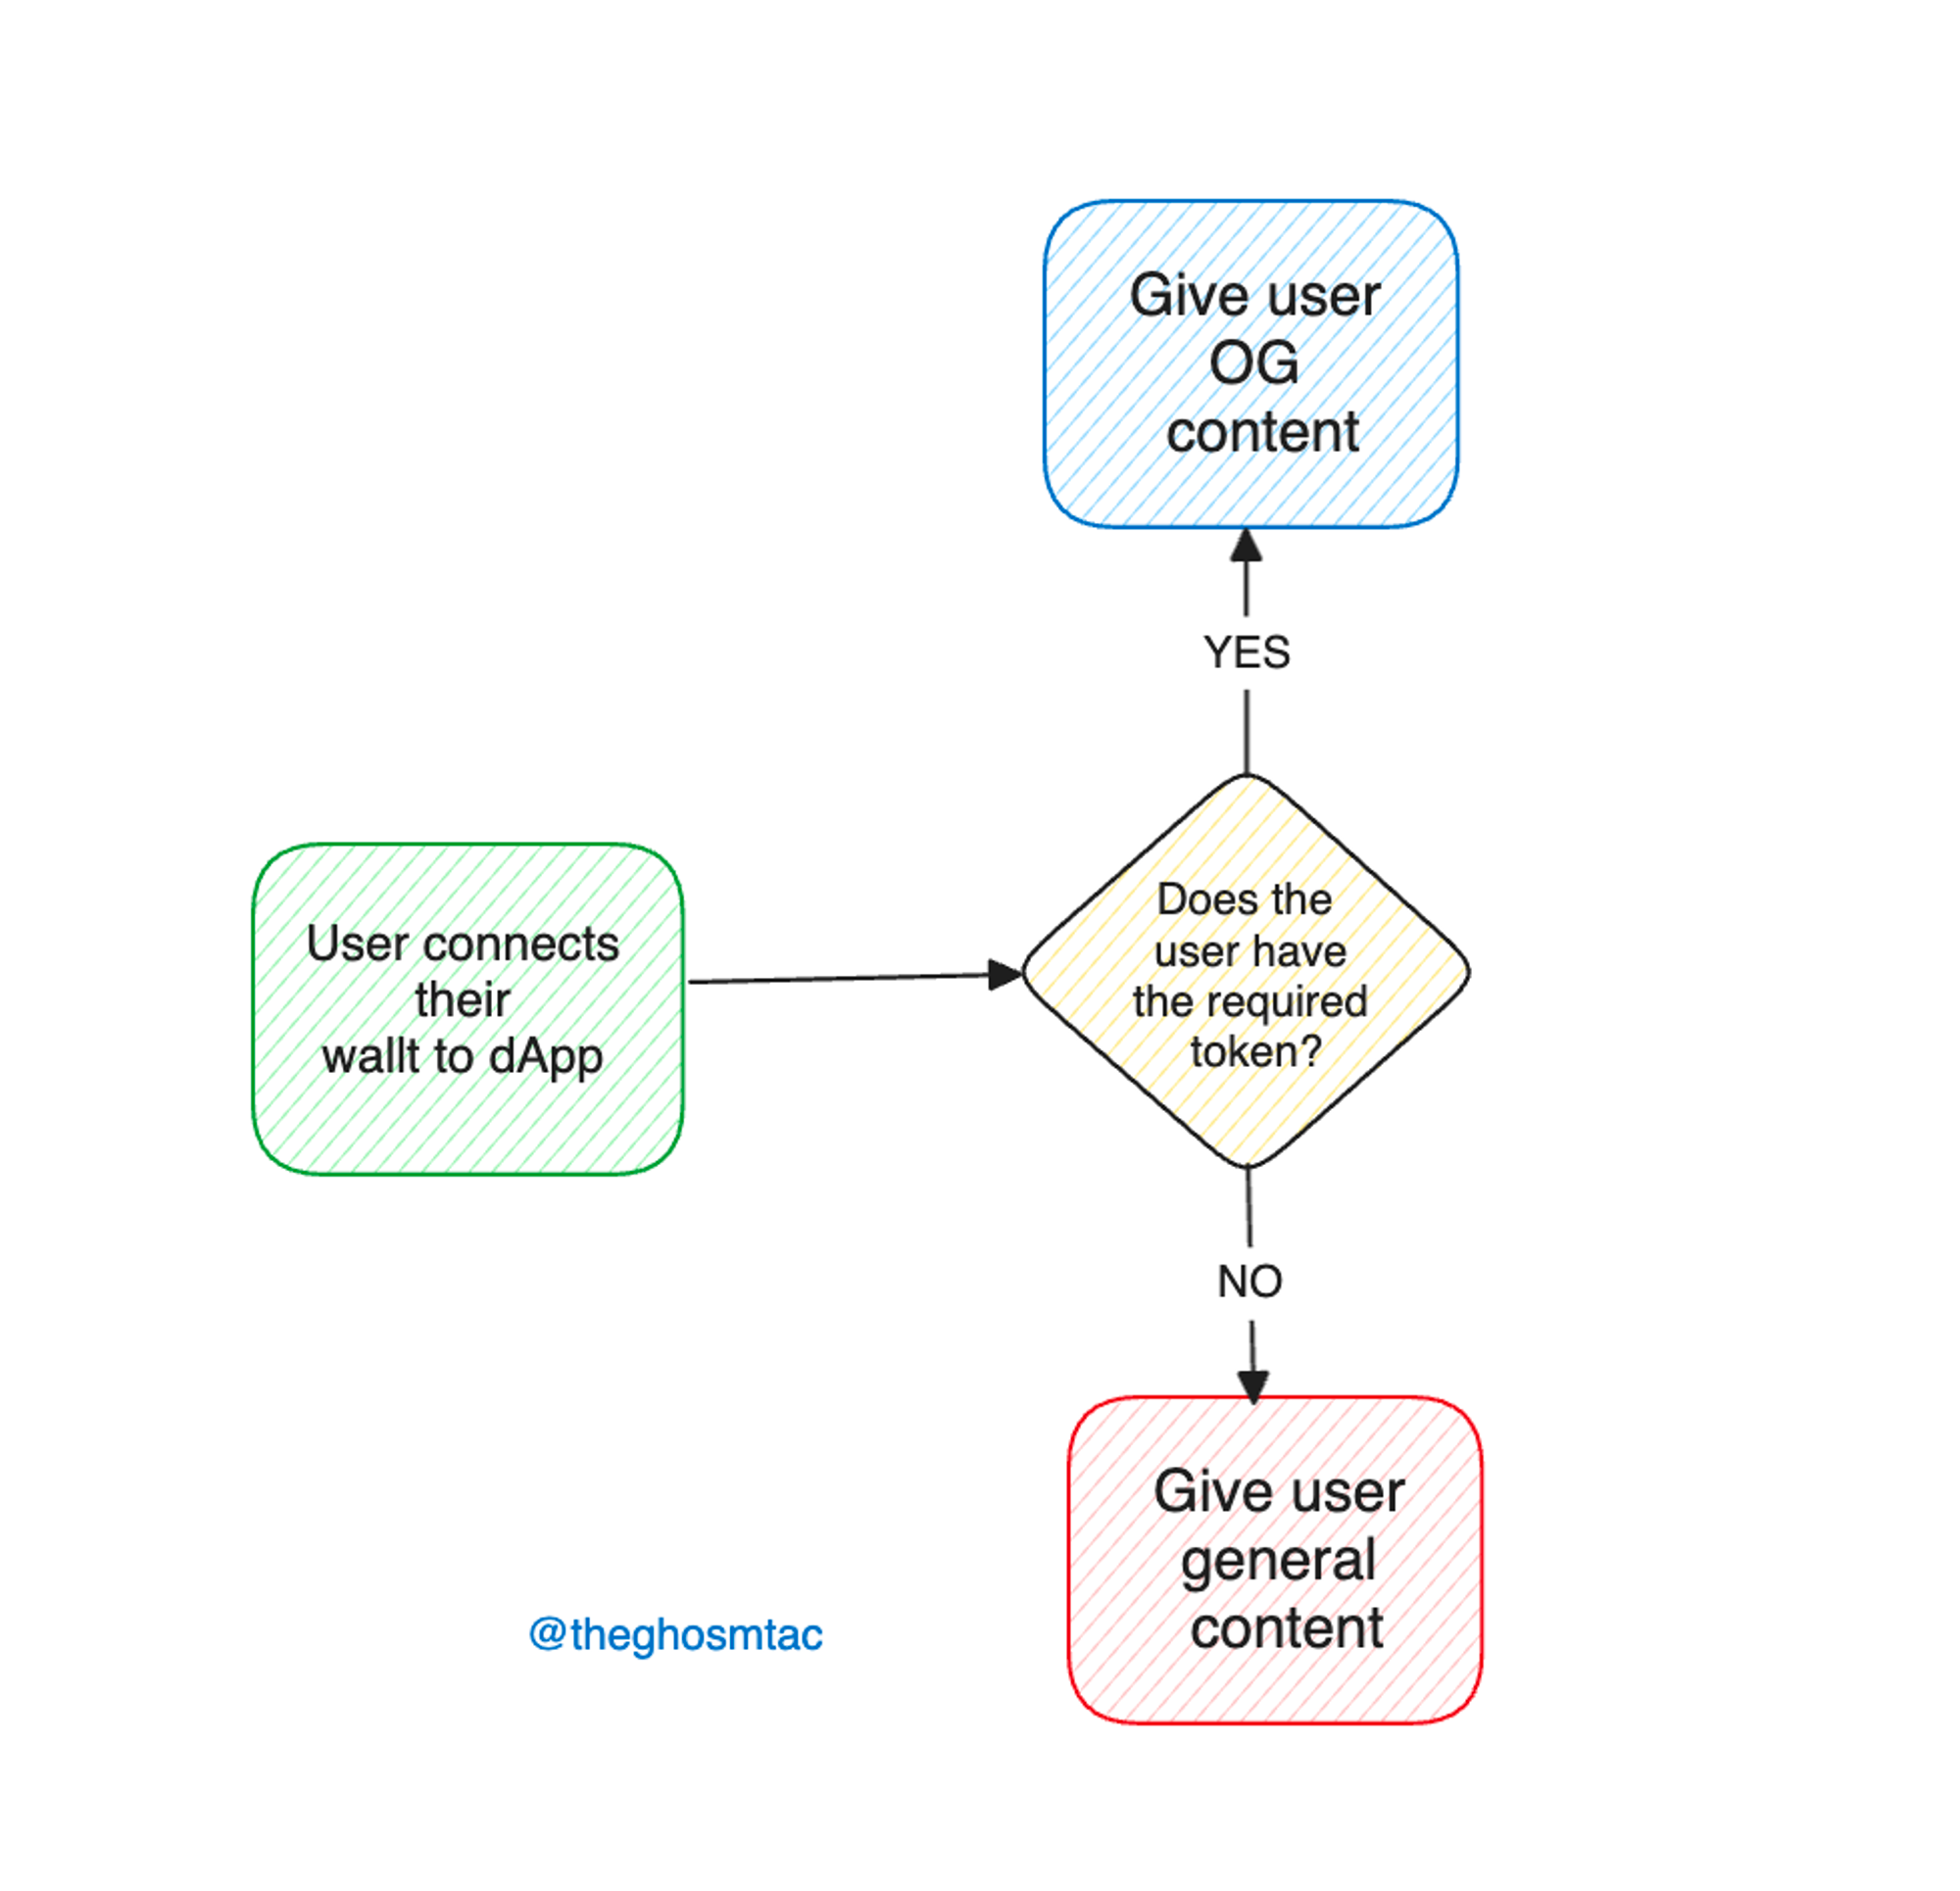
Token gating harnesses the power of smart contracts to check whether an interacting user possesses the required tokens. However, as communities grow and the criteria become more complex, simply checking token balances becomes less feasible and more gas-intensive. This is where Merkle Trees come into play, providing a gas-efficient method to verify membership without sacrificing privacy or security.
Applying Token Gating in DApp Features Access Control
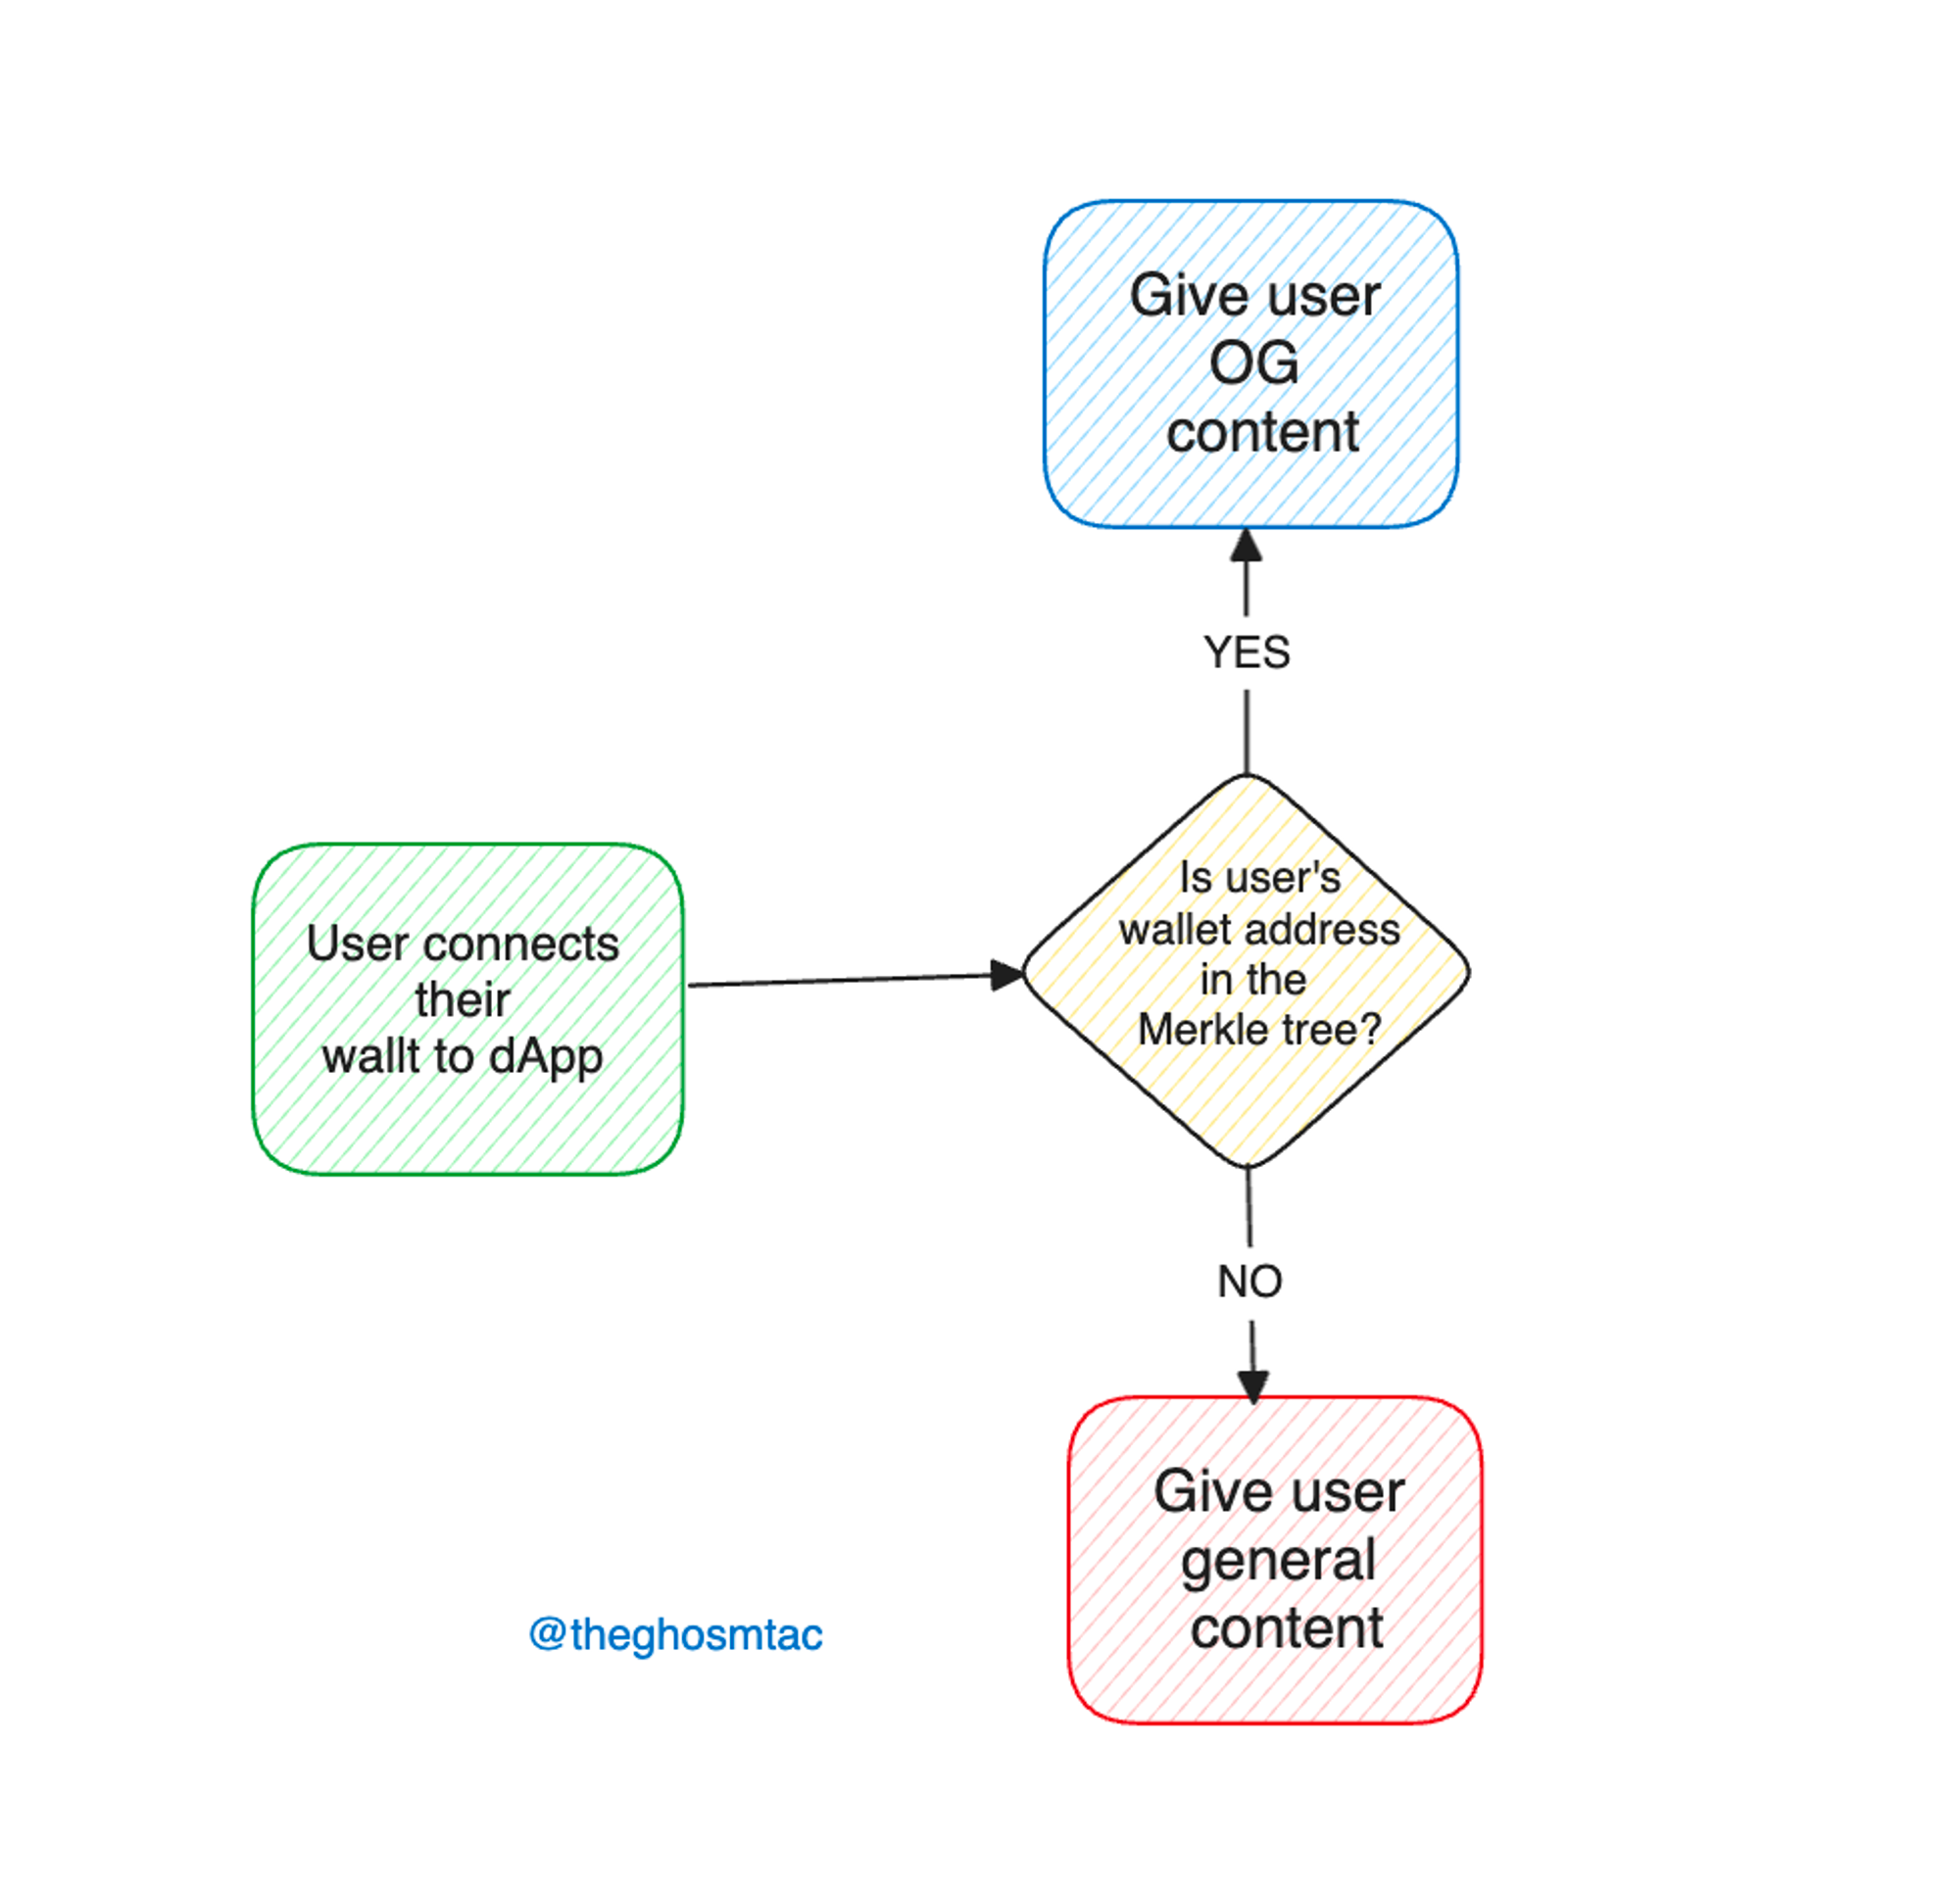
While the original idea and usage of Token Gating is to prevent users who don’t have a required token from accessing some contents in the dApp, it is extendable into other use cases. For example, we can use token gating as a mean of eligibility verification and access control, preventing addresses that are not “whitelisted” from accessing some contents in the dApp.
The Mechanism Behind the Magic
At its heart, token gating via Merkle Trees involves creating a whitelist (as opposed to blacklist) of addresses eligible for access. These addresses are hashed and assembled into a Merkle Tree, with the root hash stored on the blockchain, typically within a smart contract. When a user attempts to access gated content, they provide a Merkle proof—evidence that their address is part of the tree. The smart contract then verifies this proof against the stored Merkle root. If the proof is valid, access is granted; otherwise, it's denied.
This process ensures that the user's eligibility is verified transparently and efficiently, without the need for the dApp to manage or expose a comprehensive list of eligible addresses. Moreover, it significantly reduces gas costs, as only the necessary proof information is transacted, not the entire dataset.
Practical Solidity Example
Let's delve into a code snippet from our smart contract, which illustrates how Merkle Trees facilitate token gating for access control:
pragma solidity ^0.8.22;

import "@openzeppelin/contracts/utils/cryptography/MerkleProof.sol";

contract TokenGatedContent is MerkleProof {
    bytes32 public immutable merkleRoot; // The root of our Merkle Tree

    constructor(bytes32 _merkleRoot) {
        merkleRoot = _merkleRoot;
    }

    function accessContent(bytes32[] calldata proof) external view returns (bool) {
        bytes32 leaf = keccak256(abi.encodePacked(msg.sender));
        return verify(proof, merkleRoot, leaf);
    }
}
In the code above, the
In the next section, we will see a more practical example.
Section 3: Implementing Merkle Tree for Token Gating in Blockchain — A Mint Access Case Study
In previous sections, we have learned in theory about how Merkle Trees offer a sophisticated method for managing access control in blockchain applications. This section practically demonstrates how to utilize Merkle Trees for token gating, specifically for controlling access to a minting process. We'll use a practical example involving a list of addresses stored in a JSON file.
1. Read the File Contents
For managing a large user base in real-world decentralized applications (dApps), organizing user addresses in a.json
// merkleAlgo.js
const { MerkleTree } = require('merkletreejs');
const { keccak256 } = require('js-sha3');
const fs = require('fs/promises'); // Use fs/promises for async file read

// Function to asynchronously load addresses from JSON file
async function loadAddresses() {
    try {
        const data = await fs.readFile("./addresses.json", { encoding: 'utf8' });
        return JSON.parse(data).addresses;
    } catch (error) {
        console.error('Error loading addresses:', error);
        process.exit(1);
    }
}
In Go:
package main
import (
"encoding/hex"
"encoding/json"
"fmt"
"golang.org/x/crypto/sha3"
"os"
)
2. Generate Merkle Root for the Addresses
Once the addresses are loaded, the next step is to generate a Merkle root. This process involves hashing each address to create leaves of the Merkle Tree and then repeatedly hashing pairs of these leaves until a single hash, the Merkle root, remains.
In JavaScript:
// merkleAlgo.js continued

// Function to create a Merkle Tree and find the root hash
const createMerkleTree = (addressList) => {
    const leaves = addressList.map(addr => keccak256(addr));
    return new MerkleTree(leaves, keccak256, { sortPairs: true });
};
In Go:
func calculateMerkleRoot(leaves [][]byte) []byte {
	if len(leaves) == 1 {
		return leaves[0]
	}

	var newLevel [][]byte
	for i := 0; i < len(leaves); i += 2 {
		if i+1 < len(leaves) {
			newLevel = append(newLevel, hashPair(leaves[i], leaves[i+1]))
		} else {
			// For an odd number of leaves, duplicate the last leaf
			newLevel = append(newLevel, leaves[i])
		}
	}

	return calculateMerkleRoot(newLevel)
}
3. In Usage, Find Hex Proof for an Address
The Merkle Tree is used to efficiently verify whether an address is part of the set that was used to generate the Merkle root.
In JavaScript:
// Function to find a hex proof for a specific address
const findHexProofForAddress = async (address) => {
    const addresses = await loadAddresses(); // Load addresses asynchronously

    const tree = createMerkleTree(addresses);
    const hashedAddress = keccak256(address);
    const proof = tree.getHexProof(hashedAddress);

    const isValid = tree.verify(proof, hashedAddress, tree.getRoot());

    if (isValid) {
        console.log("Address is in the list", { proof: proof, isValid: isValid });
        return { tree: "Valid", proof: proof, isValid: isValid };
    } else {
        console.log("Address is not in the list");
        return { tree: "Invalid", proof: [], isValid: false };
    }
};
This function first loads the addresses, creates a Merkle Tree, and then uses that tree to generate and verify a proof for the given address. If the proof is valid, it means the address was indeed part of the original list used to generate the Merkle root.
4. Simulate Minting with Foundry
To test all of these in a real minting process, I have created a smart contract that simulates an NFT mint with Foundry. You can find the contract here, and you can use Anvil — a local Ethereum node provided by Foundry, for local testing and development without the need for external services like Infura or Alchemy.
Anvil is great for quickly spinning up a local blockchain environment where you can deploy contracts, send transactions, and interact with contracts as you would on a live network, but without the gas costs or setup complexity associated with testnets or mainnet.
1. Start Anvil
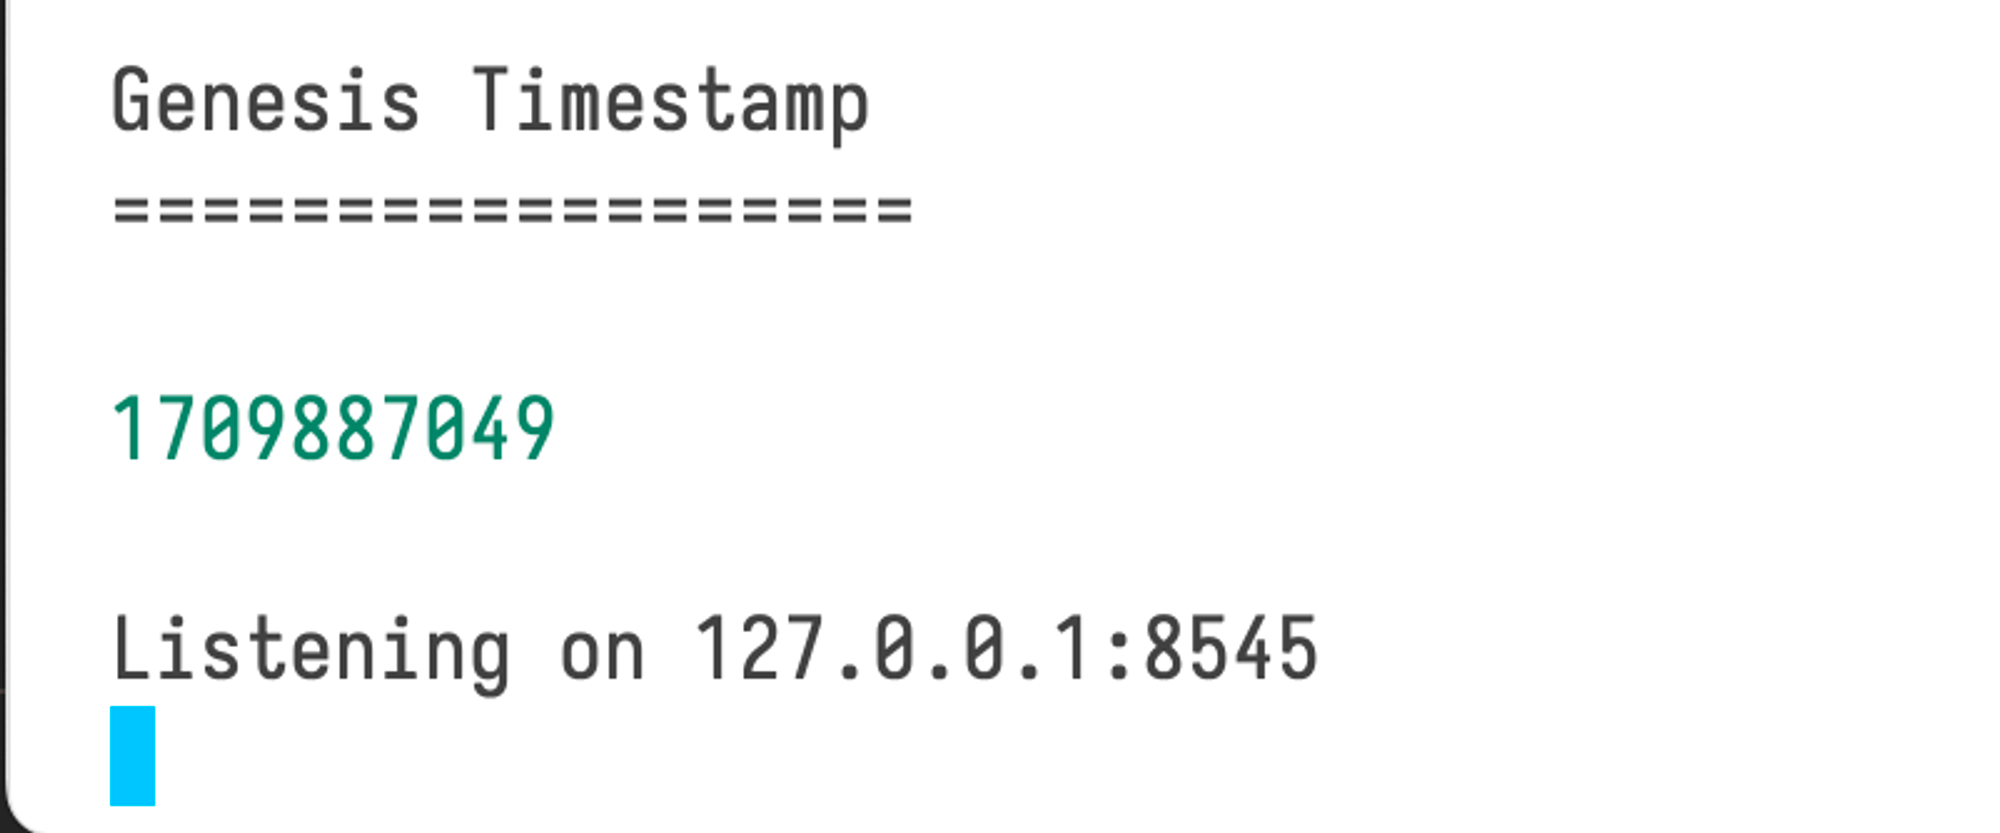
Open a new terminal window and start Anvil. This will launch a local Ethereum node.
anvil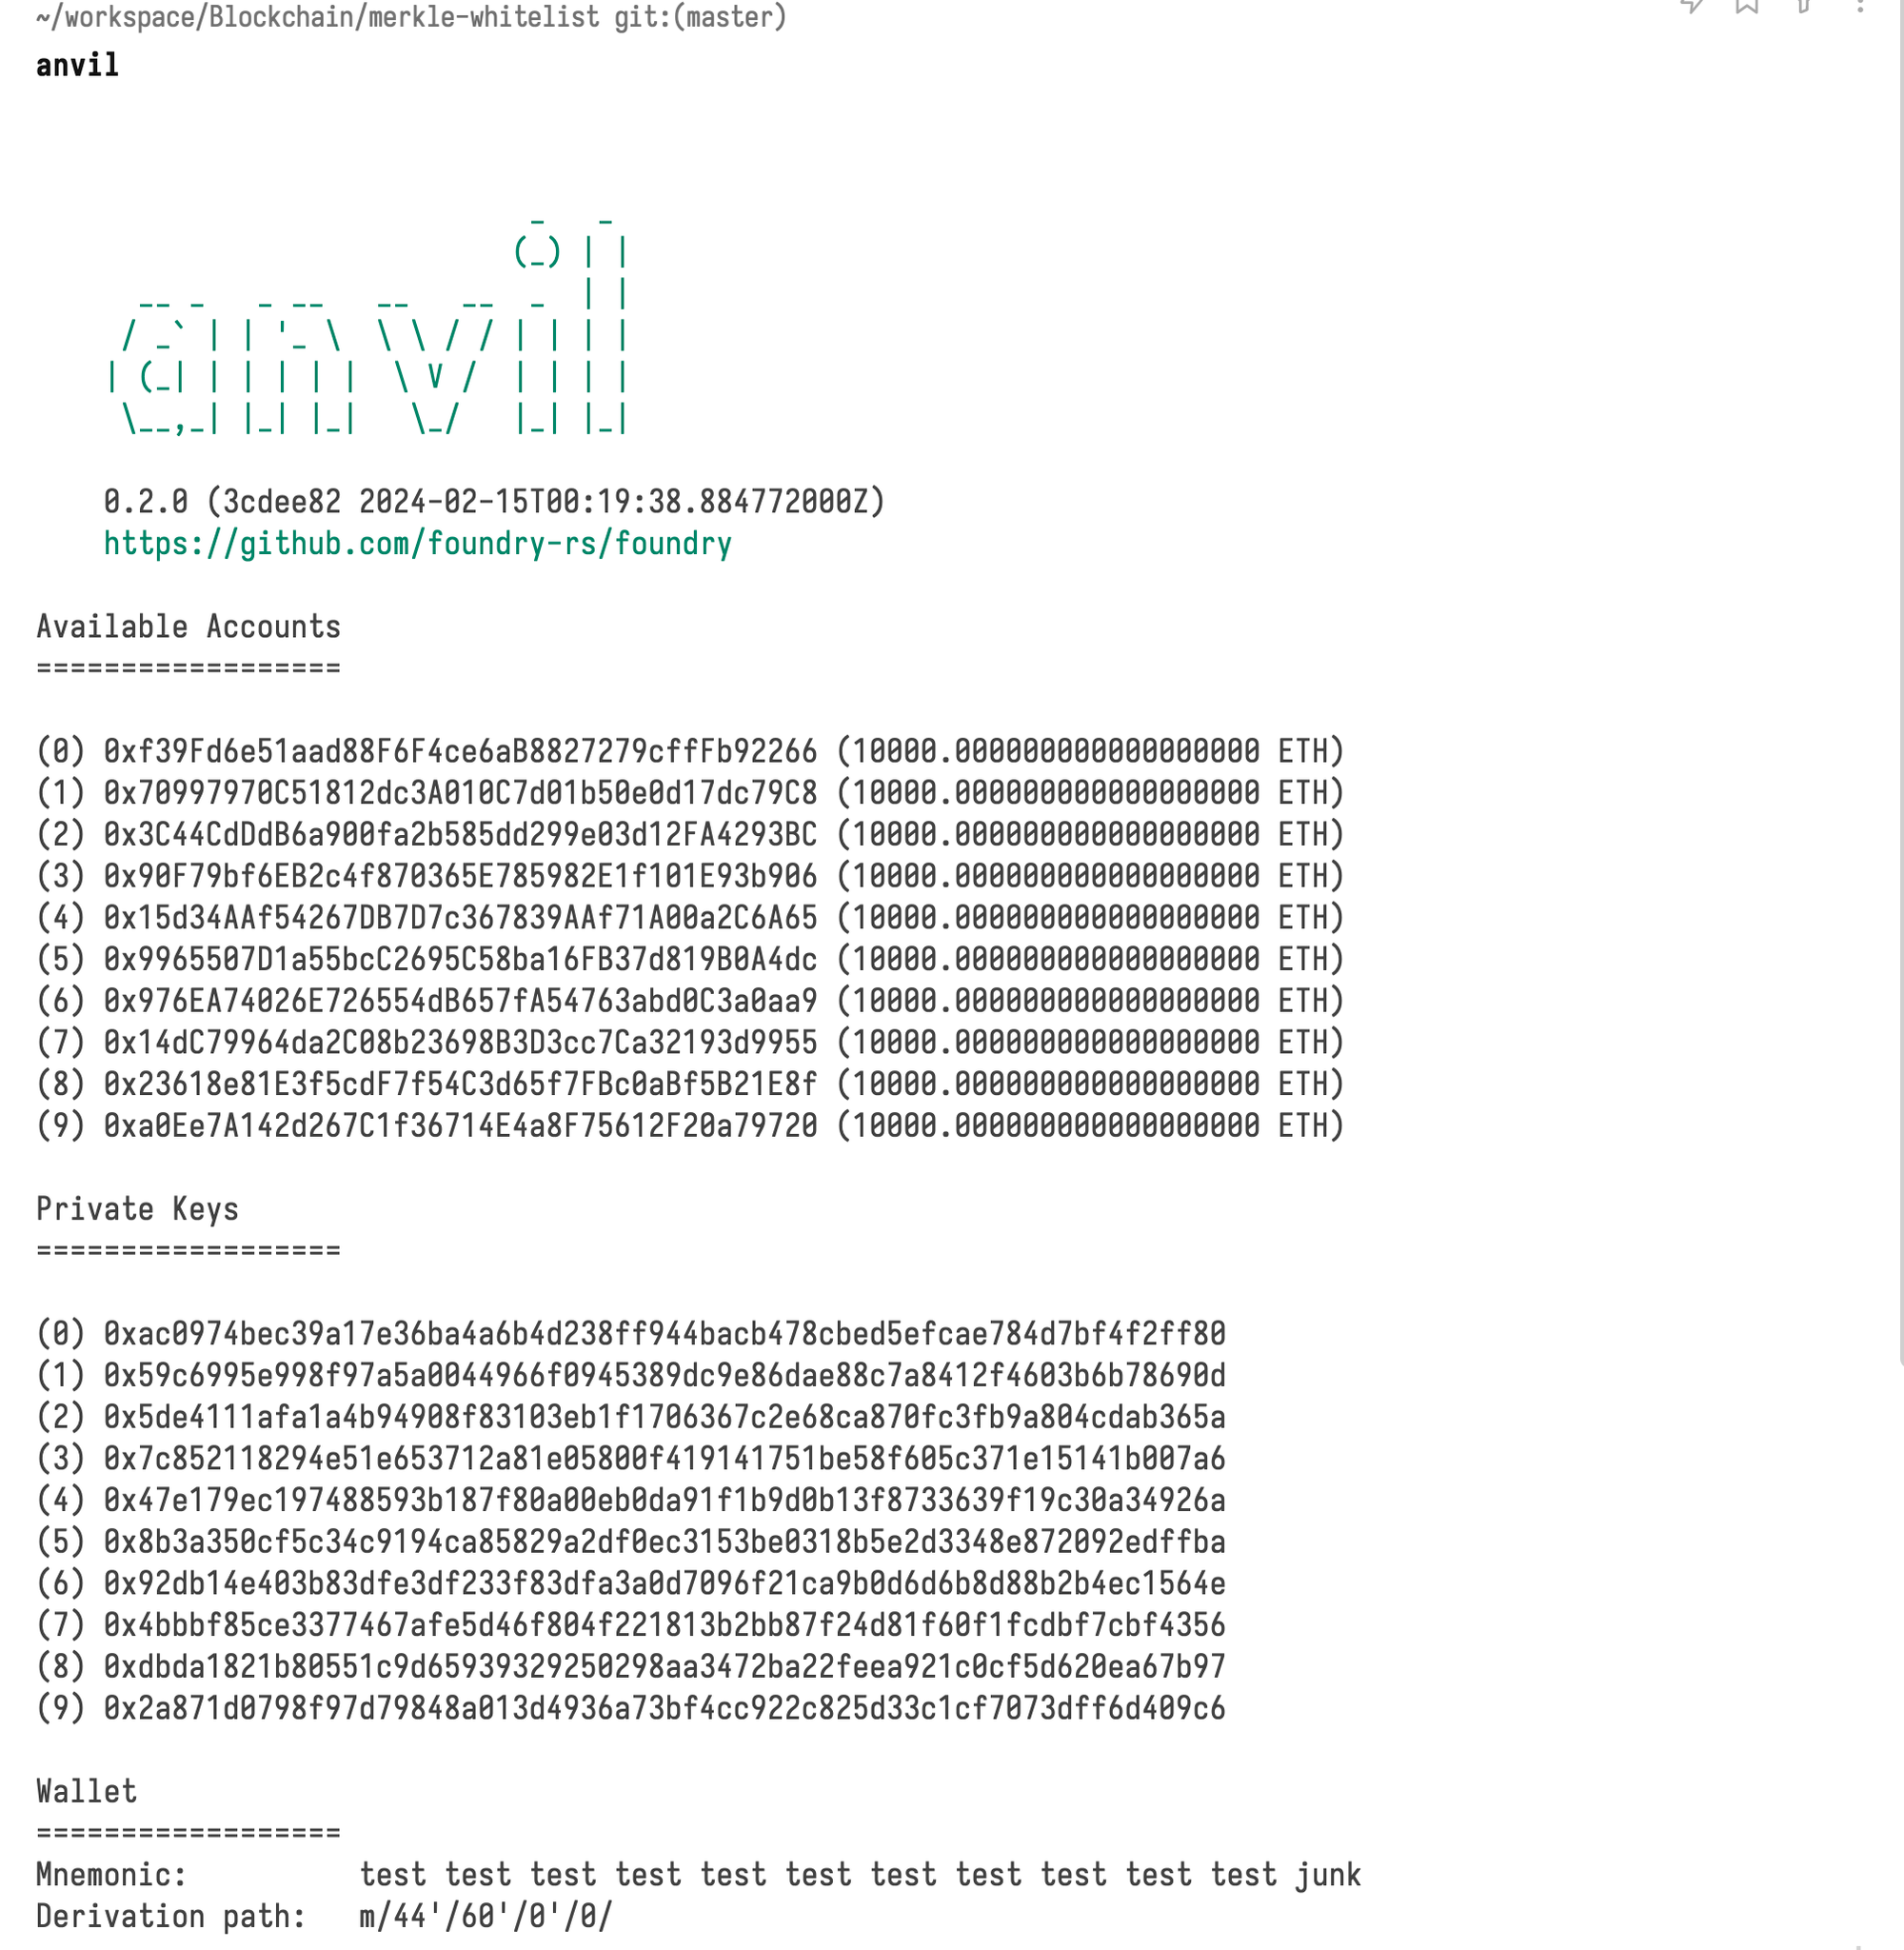
Anvil will automatically create a few test accounts preloaded with ETH and display their addresses and private keys. Note the RPC URL (typically
2. Test the Merkle root algorithm for an address
Now, I have replaced the dummy addresses in myaddresses.json

When you have gotten to this point, the next step is to test an address by finding the Merkle proof of the address in the JSON file.
In JavaScript, you can do this by writing a function:
// Function to find a hex proof for a specific address
const findHexProofForAddress = async (address) => {
    const addresses = await loadAddresses(); // Load addresses asynchronously

    const tree = createMerkleTree(addresses);
    const hashedAddress = keccak256(address);
    const proof = tree.getHexProof(hashedAddress);

    const isValid = tree.verify(proof, hashedAddress, tree.getRoot());

    if (isValid) {
        console.log("Address is in the list", { proof: proof, isValid: isValid });
        return { tree: "Valid", proof: proof, isValid: isValid };
    } else {
        console.log("Address is not in the list");
        return { tree: "Invalid", proof: [], isValid: false };
    }
};
In Go, it would look like this:
// findHexProofForAnAddress finds the Merkle proof for a given address.
func findHexProofForAnAddress(filePath, address string) ([]string, error) {
addressList, err := readAddresses(filePath)
if err != nil {
return nil, err
}
// Hash the target address to match the format in the leaves.
hash := sha3.NewLegacyKeccak256()
hash.Write([]byte(address))When you run the file, you should see the proof for that address:
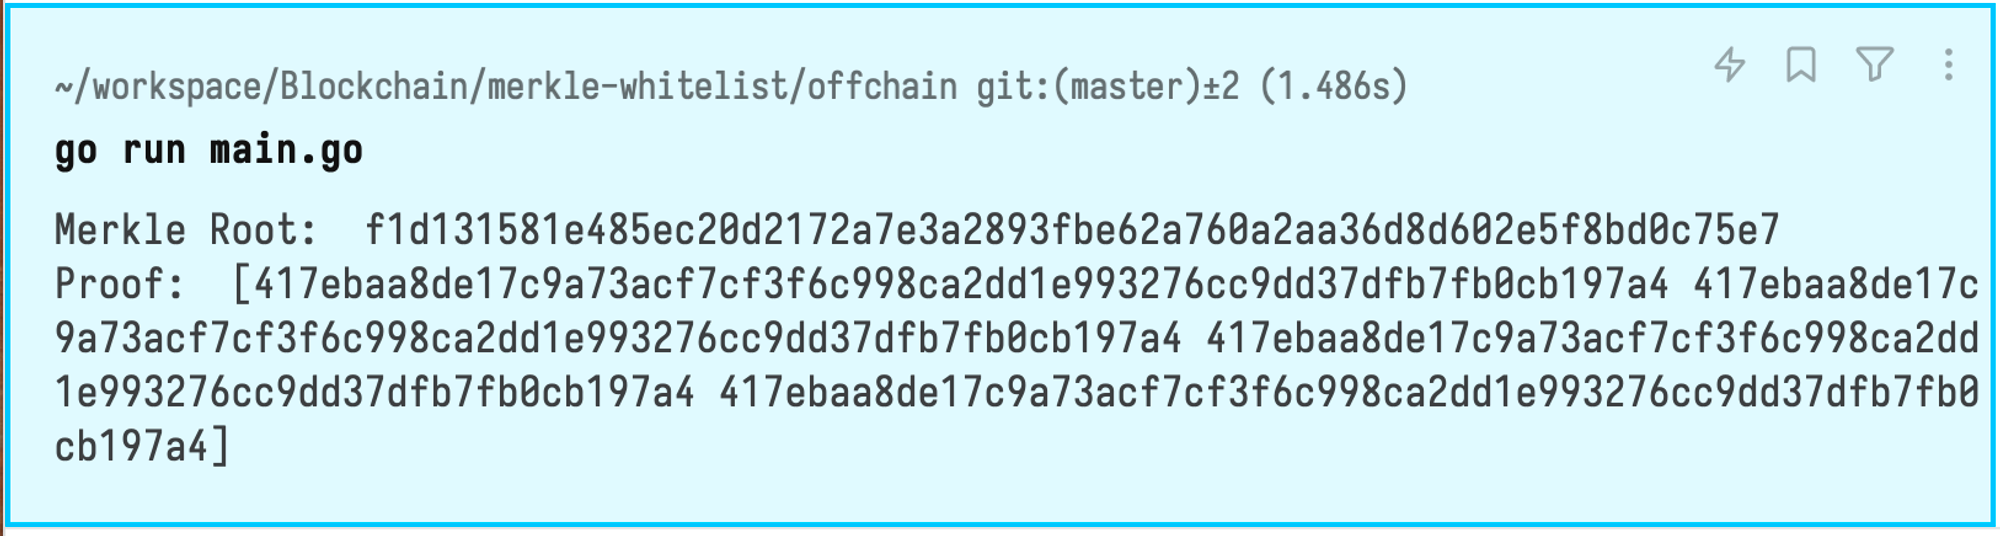
Note that, this is for one of the addresses given me by Anvil:
func main() {
	// To get the Merkle root:
	merkleRoot, err := getMerkleRoot("addresses.json")
	if err != nil {
		fmt.Println("Error: ", err)
		os.Exit(1)
	}
	fmt.Println("Merkle Root: ", hex.EncodeToString(merkleRoot))

	proof, err := findHexProofForAnAddress("addresses.json", "0xf39Fd6e51aad88F6F4ce6aB8827279cffFb92266")
	if err != nil {
		fmt.Println("Error: ", err)
		os.Exit(1)
	}

	fmt.Println("Proof: ", proof)
}
Next, we will deploy the contract.
3. Deploy Your Contract with Forge
With our Anvil node running, we can deploy our contract using
First, ensure you're in the project directory where your
forge build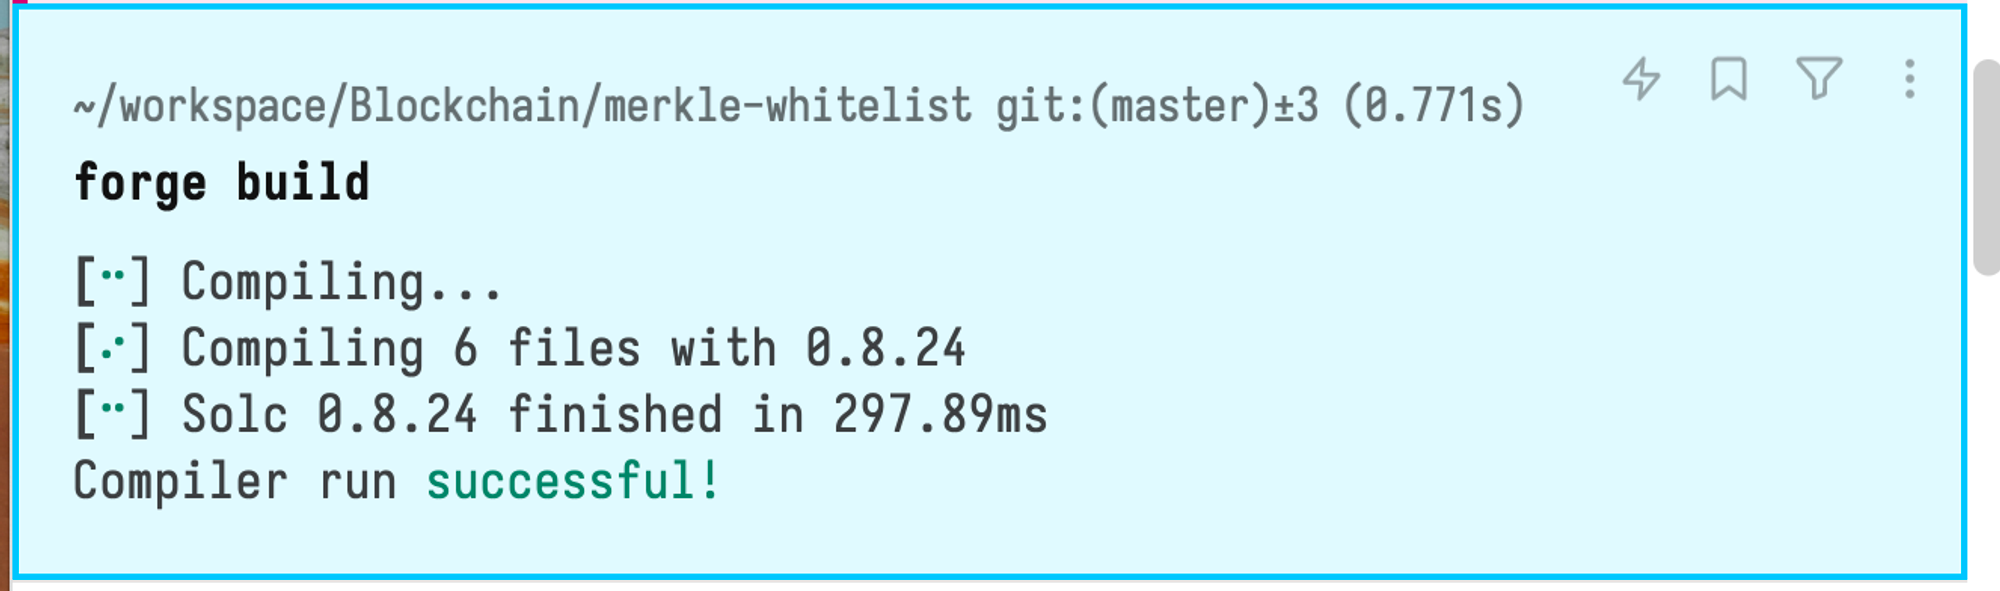
PRIVATE_KEY_HERE
cast
bytes32
cast --to-bytes32 'YourPrivateKey'For my dummy address, here is the command:
cast --to-bytes32 '0xf1d131581e485ec20d2172a7e3a2893fbe62a760a2aa36d8d602e5f8bd0c75e7'

# Output:
# 0xf1d131581e485ec20d2172a7e3a2893fbe62a760a2aa36d8d602e5f8bd0c75e7
This confirms our Merkle root is in the right format.
Next, we will create the contract and deploy it on Anvil:
forge create src/OGWhitelist.sol:OGWhitelist --private-key PRIVATE_KEY_HERE --constructor-args 0xMerkleRootHere OwnerAddressHereFor my use case, the command will be:
forge create src/OGWhitelist.sol:OGWhitelist --private-key 0xac0974bec39a17e36ba4a6b4d238ff944bacb478cbed5efcae784d7bf4f2ff80 --constructor-args 0xf1d131581e485ec20d2172a7e3a2893fbe62a760a2aa36d8d602e5f8bd0c75e7 0xf39Fd6e51aad88F6F4ce6aB8827279cffFb922660x
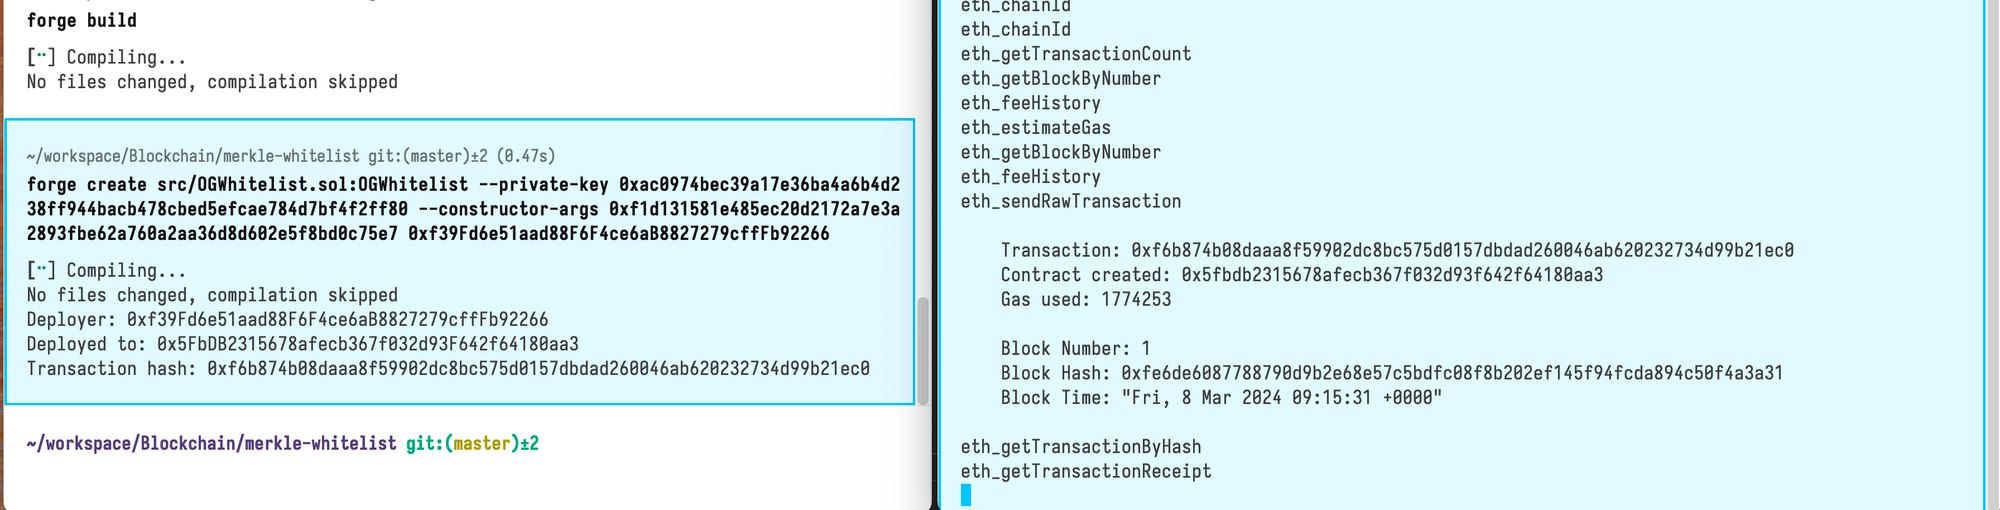
Now, we can move to simulating the minting.
4. Simulating the Mint
At this point, we have the following:
- nine addresses in JSON (generated by Anvil)
- a Merkle tree with all nine addresses as leaves
- a smart contract named deployed to AnvilOGWhitelist
- the contract address being with.0xe7f1725e7734ce288f8367e1bb143e90bb3f0512
ogMint
testMint.js
const { ethers } = require("hardhat");
async function main() {
// The address of the deployed OGWhitelist contract
const contractAddress = "0xe7f1725e7734ce288f8367e1bb143e90bb3f0512";
// The address we're testing with
const testAddress = "0xf39Fd6e51aad88F6F4ce6aB8827279cffFb92266";
// The Merkle proof for the addressabigen
- Copy the JSON output in /out/OGWhitelist.sol/OGWhitelist.json
- Copy only the value of the key in the JSON fileabi
- Paste it in a new file and name it OGWhitelist.abi
- Run this command:
abigen --abi=OGWhitelist.abi --pkg=ogwhitelist --out=OGWhitelist.go- This outputs an file that we will use to create the test mint function.OGWhitelist.go
- Create an that makes use of the functions in the oracle. You can find that in this repository.oracle.go
- Next, create a function to be used for minting, and call it in the main function:
func main() {
// To get the Merkle root:
merkleRoot, err := getMerkleRoot("addresses.json")
if err != nil {
fmt.Println("Error: ", err)
os.Exit(1)
}
fmt.Println("Merkle Root: ", hex.EncodeToString(merkleRoot))
// Replace with the actual address and proofWhen we run that, we can see that the minting is attempted:

Conclusion
If you are interested in seeing the complete smart contract implementation of token gating for access control, you can find that here. With this article, I have explained the importance of Merkle Tree technology and shown you how to implement it. I have also written a smart contract for educational purpose to demonstrate the usage of Merkle Tree for token gating in smart contract